Note
You are viewing documentation for an older version of this integration. We recommend upgrading to the latest version - Cisco Viptela for improved features, better support and latest information.Introduction
Viptela SD-WAN is a software-defined approach to managing the wide-area network, or WAN.
Create a credential
- From All Clients, select a client.
- Go to Setup > Accounts > Clients.
- Search for the client and click on the client name.
- On the client’s Credentials tab, add the credential information.
Configure and install the integration
- From All Clients, select a client.
- Go to Setup > Account.
- Select the Integrations and Apps tab.
- The Installed Integrations page, where all the installed applications are displayed.
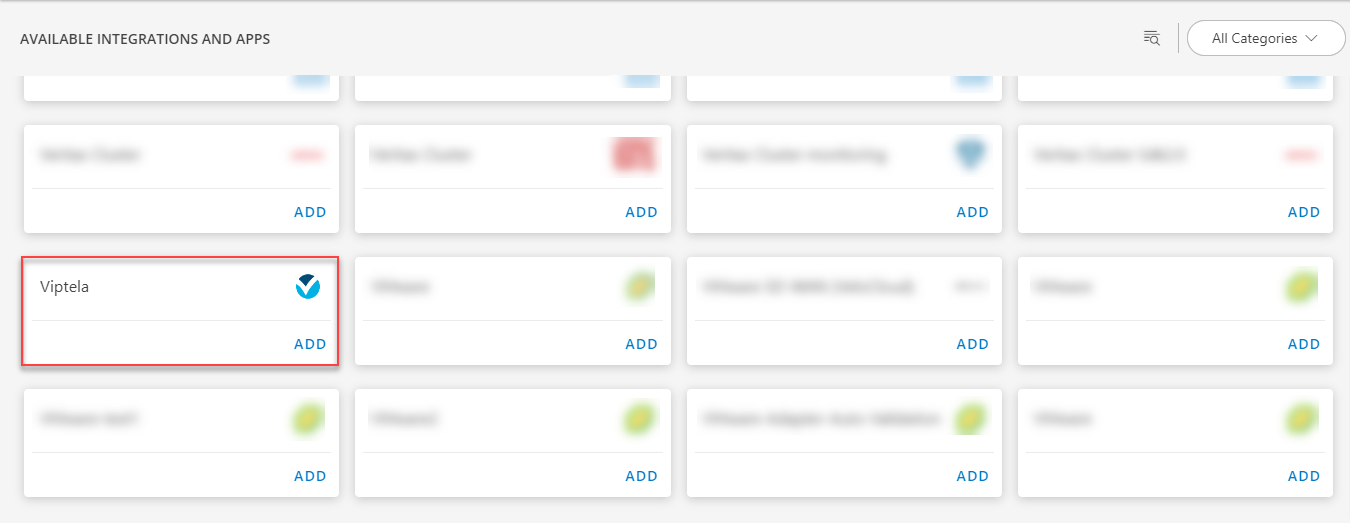
Note: If there are no installed applications, it will navigate to the Available Integrations and Apps page. - Click + ADD on the Installed Integrations page. The Available Integrations and Apps page displays all the available applications along with the newly created application with the version.
Note: You can even search for the application using the search option available. Also you can use the All Categories option to search.

- Click ADD in the Viptela application.
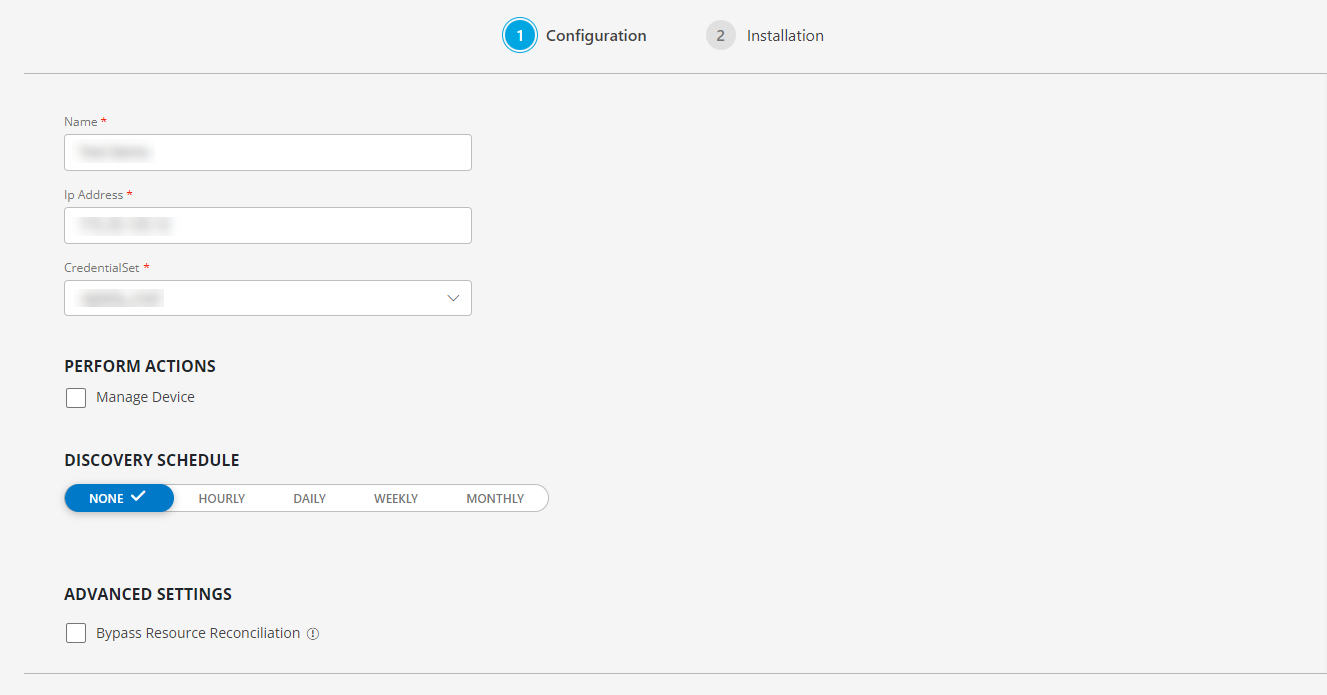
- In the Configuration page, enter the below information:
| Functionality | Description |
|---|---|
| Name | Enter the name for the configuration. |
| Ip Address | Enter the IP address. |
| CredentialSet | Select the CredentialSet from the drop-down list. Note: Click + Add to create a credential. |
From the Perform Actions section, choose Manage Device to set the resources as managed.
In the DISCOVERY SCHEDULE section, select recurrence pattern to add one of the following patterns:
- Minutes
- Hourly
- Daily
- Weekly
- Monthly
(Optional) Under the ADVANCED SETTINGS, Select the Bypass Resource Reconciliation option, if you wish to bypass resource reconciliation when encountering the same resources discovered by multiple applications.
Note: If two different applications provide identical discovery attributes, two separate resources will be generated with those respective attributes from the individual discoveries.
Click NEXT.

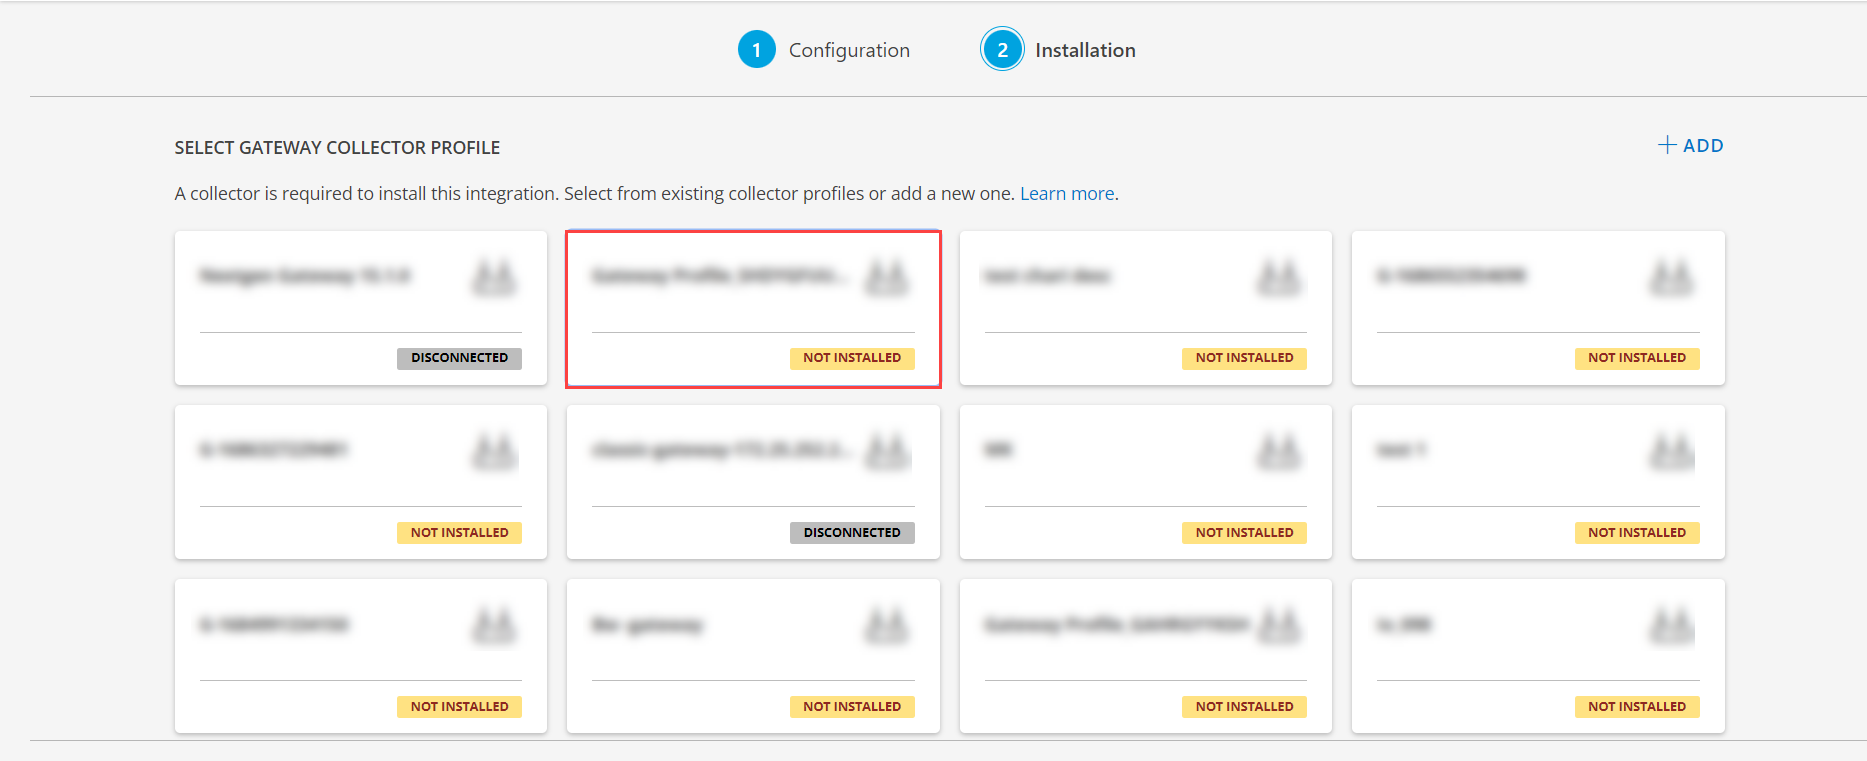
- (Optional) Click +ADD to create a new collector by providing a name or use the pre-populated name.

- Select an existing registered profile, and click FINISH.

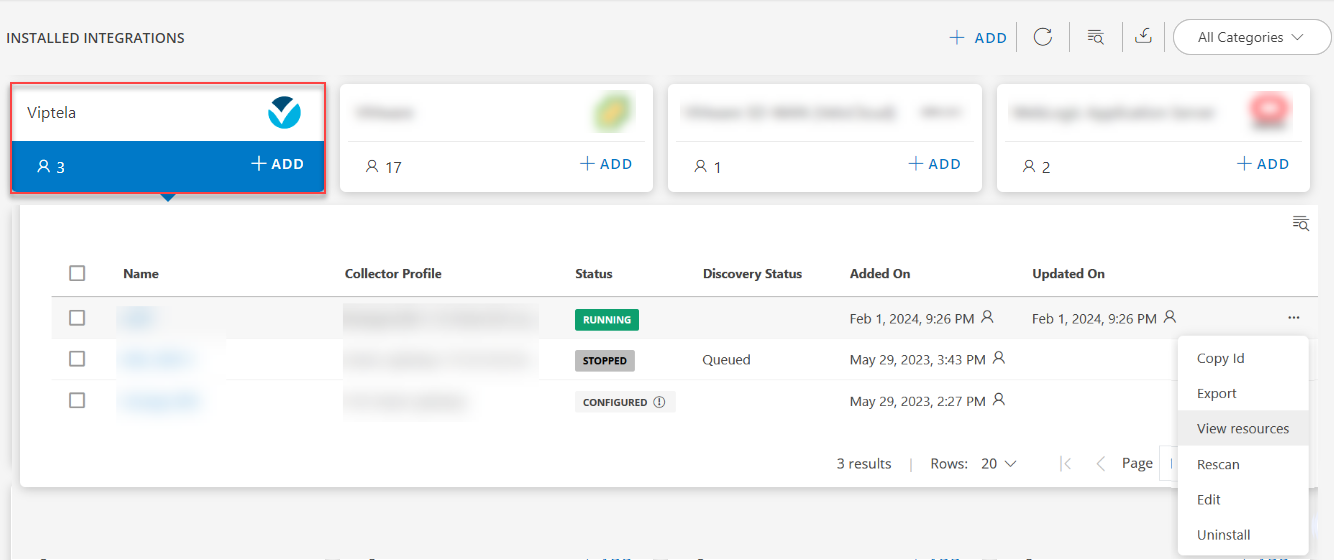
The application is now installed and displayed on the INSTALLED INTEGRATIONS page. Use the search field to find the installed application.
- (Optional), Select the Viptela Integration.
- (Optional), Click the ellipses and choose the View resources option.

View the Viptela details
The Viptela integration is displayed in the Infrastructure > Resources > Network Devices. You can navigate to the Attributes tab to view the discovery details, and the Metrics tab to view the metric details for Viptela.